Categories
knife

Kitchen Knife Safety: Techniques for Safety and Efficiency

A kitchen knife is a versatile tool that can enhance your cooking experience when used correctly. Here are some essential tips on how to use a kitchen knife properly:

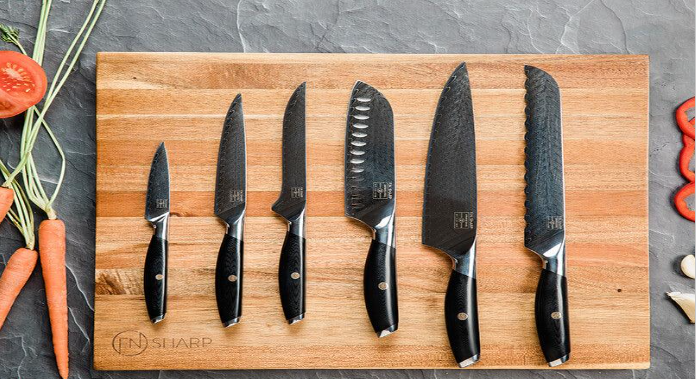
  • Choose the Right Knife: Select the appropriate knife for the task at hand. Each knife has a specific purpose, so using the right one will ensure efficiency and safety. For example, use a chef’s knife for chopping and slicing, a paring knife for smaller tasks, and a bread knife for cutting through crusty bread.
  • Maintain a Firm Grip: Hold the knife with a firm grip, but not too tight, ensuring control and stability. Place your index finger and thumb on the blade’s opposite sides, known as the “pinch grip.” Wrap your remaining fingers around the handle for support.
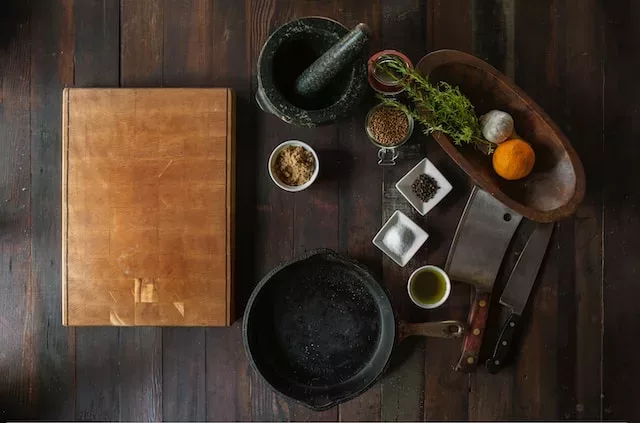
  • Use a Cutting Board: Always cut on a stable cutting board made of wood, bamboo, or plastic. Avoid cutting on hard surfaces like glass or stone, as they can damage the blade. Cutting boards protect your countertops and provide a safe surface for slicing and chopping.
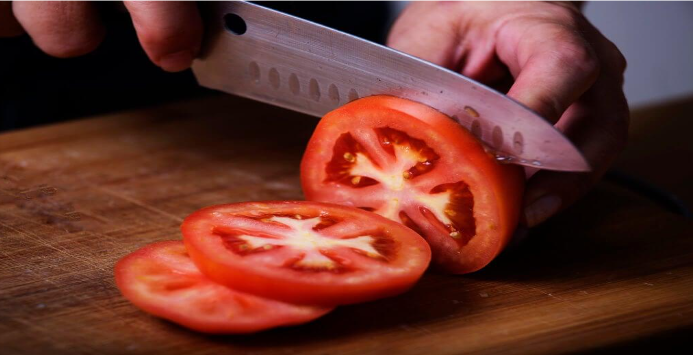
  • Proper Cutting Technique: Mastering the proper cutting technique ensures safety and efficiency. Practice the following:
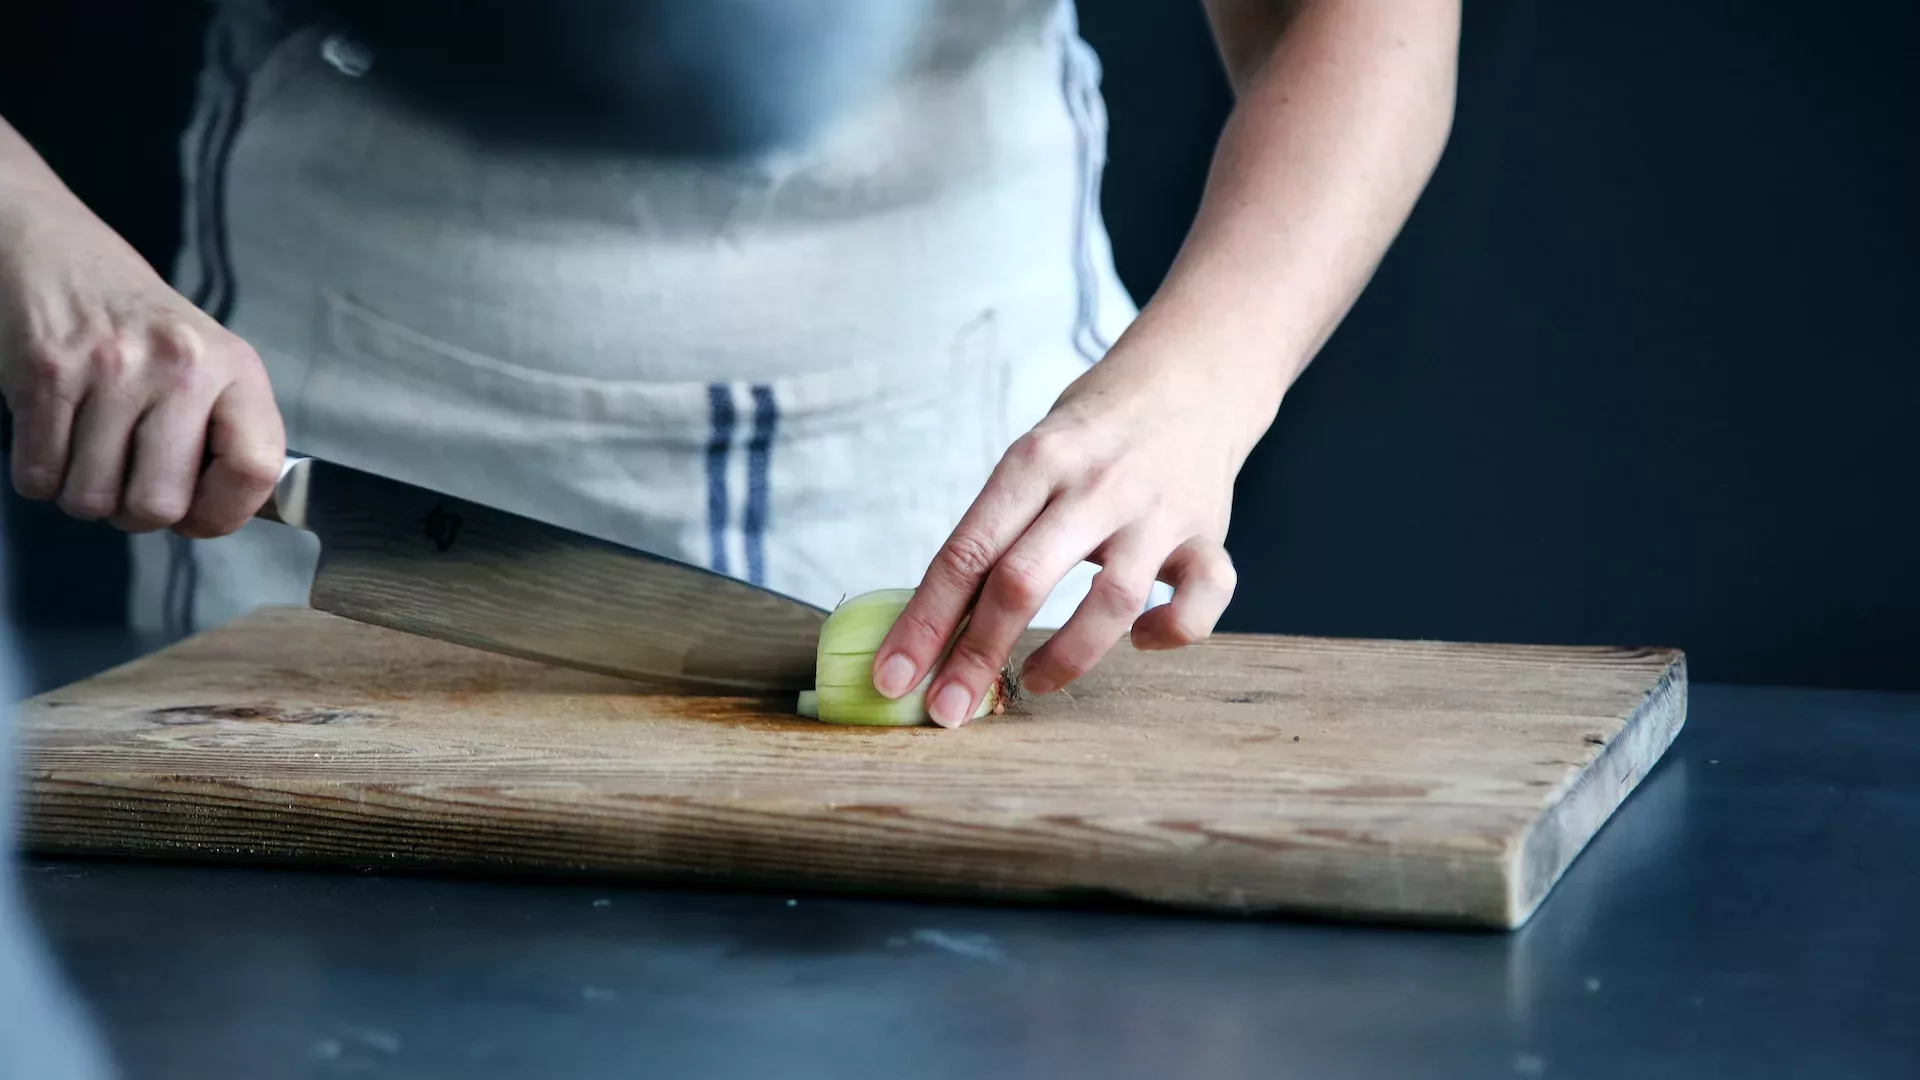
    • Hold the food item steady with your non-dominant hand, using the “claw grip” by tucking your fingertips under and resting the knuckles against the blade.
    • Use a fluid, rocking motion with the knife, moving the blade up and down while keeping the tip in contact with the cutting board.
    • Guide the knife with your other hand, moving it back as you cut through the food item.
  • Pay Attention to Knife Placement: Be mindful of the knife’s position and keep your fingers away from the blade’s path to avoid accidents. Curl your fingers inward when holding the food to minimize the risk of accidental cuts.
  • Take Your Time: Avoid rushing and work at a steady pace. Focus on the task at hand and maintain control over the knife’s movements. Remember, speed will come with practice, so prioritize precision and safety.
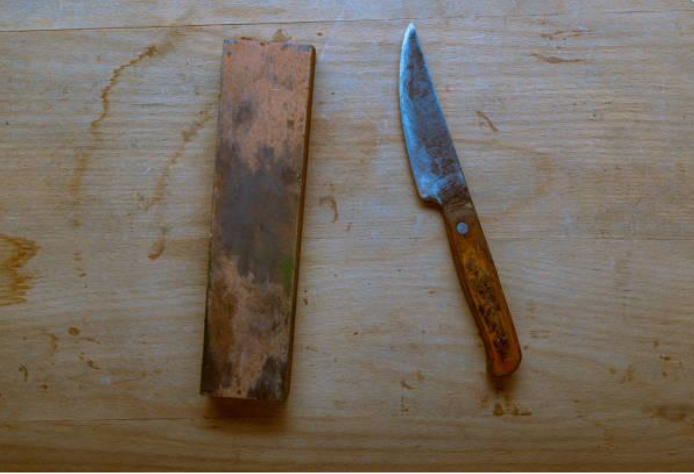
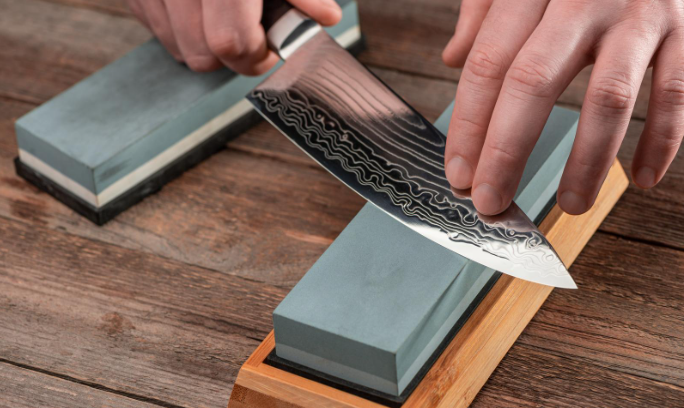
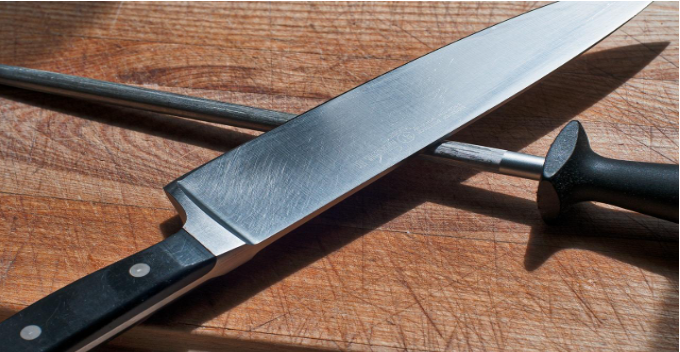
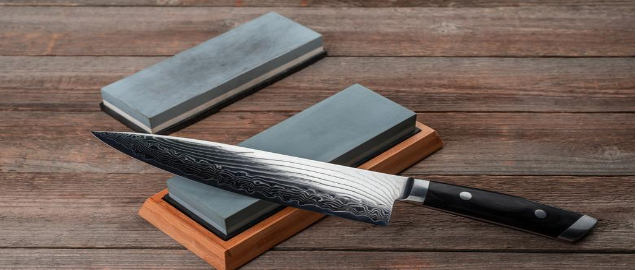
  • Keep the Knife Sharp: Maintain a sharp blade through regular honing and occasional sharpening. A sharp knife cuts through food more easily, reducing the risk of slips and mishaps. Dull knives require more force and are more prone to slipping, increasing the chances of accidents.
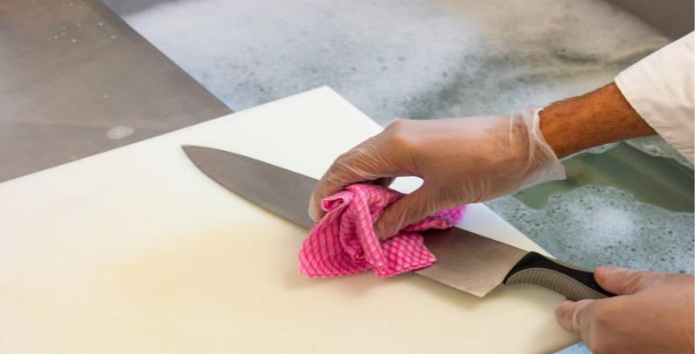
  • Clean and Store Properly: After using a knife, clean it with mild soap and warm water, and dry it thoroughly. Store knives in a knife block, magnetic strip, or protective sheaths to prevent accidents and maintain their sharpness.

By following these guidelines and practicing proper knife skills, you’ll ensure both safety and efficiency in the kitchen. Remember, mastering knife techniques takes time, so be patient and continue to improve your skills as you cook. MBS

Categories
knife

MBS Guide to a well-rounded Knife Set for a Home Kitchen

A well-curated knife set is a valuable asset for any home kitchen, providing you with the right tools for various culinary tasks. Here are some essential knives to consider when assembling a versatile knife set:

  • Chef’s Knife: A chef’s knife is a must-have in any kitchen. Look for a high-quality, 8-10 inch (20-25 cm) chef’s knife that feels comfortable in your hand. It will be your go-to knife for chopping, slicing, and dicing a wide range of ingredients.
  • Paring Knife: A paring knife is perfect for precision tasks like peeling, trimming, and intricate cutting work. Opt for a 3-4 inch (7.5-10 cm) paring knife with a sharp, pointed tip.
  • Bread Knife: Choose a bread knife with a long, serrated blade to effortlessly slice through crusty bread without crushing it. Look for one with deep serrations and a comfortable handle.
  • Utility Knife: A utility knife bridges the gap between a chef’s knife and a paring knife. It is versatile enough for various small cutting tasks, such as slicing small fruits and vegetables or handling sandwiches. A 4-6 inch (10-15 cm) utility knife is ideal.
  • Santoku Knife: Consider adding a santoku knife to your collection for its versatility and precision. With its shorter, wider blade and Granton edge, it excels at slicing, dicing, and mincing ingredients with ease.
  • Serrated Utility Knife: A serrated utility knife, with a smaller and narrower blade than a bread knife, is handy for cutting through foods with tough exteriors or soft interiors, such as tomatoes or citrus fruits.
  • Boning Knife: If you frequently work with meat or fish, a boning knife is essential for separating meat from bones or filleting fish. Look for a thin, flexible blade with a sharp point.
  • Slicing Knife: A slicing knife is perfect for carving cooked meats, roasts, or poultry. Its long, narrow blade ensures thin, precise slices without tearing the meat.

In addition to the knives mentioned above, consider including kitchen shears for tasks like cutting herbs, opening packages, or trimming poultry. Remember to invest in a quality knife block or magnetic strip to store and protect your knives properly.

Ultimately, your knife set should cater to your specific cooking needs and preferences. By selecting these essential knives, you’ll have a solid foundation to tackle a wide range of culinary endeavours with confidence and precision in your home kitchen.

Talk to us at MBS for Knife Advice or visit www.adamsdc.co.za…MBS

Categories
knife

Exploring Different Types of Kitchen Knives

In the vast world of culinary arts, having the right tools is essential. When it comes to kitchen knives, there is a wide variety available, each designed for specific tasks. Let’s explore some of the most common types of kitchen knives and their purposes:

  • Chef’s Knife: The chef’s knife is a versatile, all-purpose knife with a broad blade and a slight curve. It’s ideal for chopping, slicing, and dicing various ingredients, making it a must-have for any cook.
  • Santoku Knife: Originating from Japan, the santoku knife features a shorter, wider blade with a flat cutting edge. It excels at precision tasks like slicing, dicing, and mincing. The Granton edge, with its small air pockets along the blade, helps prevent food from sticking.
  • Paring Knife: The paring knife is a small, nimble knife with a pointed tip. It is perfect for intricate tasks like peeling, trimming, and slicing small fruits and vegetables. Its compact size allows for precise control and manoeuvrability.
  • Bread Knife: The bread knife has a long, serrated blade that effortlessly cuts through crusty bread without crushing it. The serrations grip the bread’s surface, ensuring clean slices without tearing or crumbling.
  • Utility Knife: A utility knife is a smaller version of a chef’s knife, featuring a narrower and more flexible blade. It’s designed for tasks that require more precision, such as cutting small fruits, vegetables, or sandwiches.
  • Boning Knife: The boning knife has a thin, narrow, and flexible blade used for separating meat from bones. It is invaluable for butchering, deboning poultry or fish, and trimming fat.
  • Cleaver: The cleaver is a heavy, rectangular knife with a thick spine. It is primarily used for splitting large cuts of meat, but its weight and sturdy blade make it useful for other tasks like crushing garlic or chopping through bones.
  • Slicing Knife: A slicing knife has a long, narrow, and sharp blade, specifically designed for slicing cooked meats, roasts, and poultry. Its thin edge ensures thin, even slices without tearing or shredding the meat.
  • Fillet Knife: The fillet knife features a long, flexible blade that tapers to a pointed tip. It is specifically designed for filleting fish, effortlessly gliding along the bones to remove the skin and create precise fillets.

These are just a few examples of the many kitchen knife types available. Each knife serves a specific purpose, enhancing your efficiency and precision in the kitchen. Investing in a quality set of essential knives can greatly elevate your cooking experience and skill.

Remember to choose knives that suit your cooking style, preferences, and the tasks you frequently undertake. With the right tools at your disposal, you can conquer any culinary challenge with ease and confidence.

Reach out for any knife advice. MBS

Categories
knife

Is It Worth Sharpening a Cheap Knife?

In many kitchens, cheap knives are a common sight. These budget-friendly options might not offer the same quality or durability as their more expensive counterparts. However, when it comes to sharpening, the question arises: is it worth sharpening a cheap knife? Let’s delve into this topic and explore the considerations.

Assess the Knife’s Material and Construction

Cheap knives are often made from lower-quality materials, such as stainless steel or softer alloys. These blades tend to dull more quickly than high-quality knives. Additionally, their construction might not allow for easy sharpening or produce long-lasting results.

Evaluate the Knife’s Intended Use

Consider the purpose of the knife. If it’s a utility knife primarily used for basic tasks like cutting fruits, vegetables, or soft meats, sharpening may yield acceptable results. However, if the knife is intended for heavy-duty tasks like carving bones or frozen foods, sharpening a cheap knife might not provide the desired performance and could potentially damage the blade.

Consider the Cost of Sharpening

Sharpening a knife, whether done at home with sharpening stones or through professional services, incurs a cost. When it comes to cheap knives, the cost of sharpening might be comparable to or even exceed the initial purchase price. In such cases, it’s worth questioning whether it makes financial sense to sharpen a knife that can be easily replaced.

Weigh the Overall Quality and Lifespan

Cheap knives often lack the durability and longevity of higher-quality knives. While sharpening may improve their cutting performance temporarily, it’s important to consider the overall quality and lifespan of the knife. If the blade is prone to chipping, bending, or rapid dulling, investing in a higher-quality knife might be a more worthwhile long-term solution.

Safety Considerations

Sharpening a knife requires skill and caution, especially when working with cheaper blades that might not hold an edge as well. If you’re inexperienced or unsure about the sharpening process, it’s advisable to seek professional help or invest in a higher-quality knife that maintains its sharpness for longer.

In conclusion, whether it’s worth sharpening a cheap knife depends on various factors, including the knife’s material, intended use, cost of sharpening, overall quality, and safety considerations. While sharpening can provide temporary improvements, it may not be a cost-effective or long-term solution for low-quality knives.

If you choose to sharpen a cheap knife, ensure you’re comfortable with the process or consult an expert. Ultimately, investing in higher-quality knives may offer better performance, longevity, and value for your culinary endeavors. Check out www.adamsdc.co.za for an array of new knives. MBS.

Categories
knife

Maintaining Sharpness in Your Knife

Congratulations on sharpening your knife!

Now, let’s explore some essential tips on how to maintain its sharpness:

  1. Clean and Dry Properly: After each use, clean your knife with mild soap and warm water, ensuring to remove any food residue. Avoid using abrasive materials that can dull the blade. Thoroughly dry the knife to prevent moisture-related issues like rust.
  2. Use the Right Cutting Surface: Opt for cutting boards made of wood, bamboo, or plastic. Avoid hard surfaces like glass or stone, as they can damage the blade. Also, avoid cutting on plates or ceramic surfaces as they can dull the edge.
  3. Avoid Cutting Bones and Frozen Foods: Knife blades are designed for slicing through soft materials. Cutting through bones or frozen foods can cause chips or damage the edge. Instead, use specialized tools like a cleaver for bones or thaw frozen foods before slicing.
  4. Store Properly: Invest in a knife block, magnetic strip, or sheath to store your knives. This prevents blades from banging against other utensils, which can lead to dulling or chipping. Alternatively, consider using blade guards for individual knives if space is limited.
  5. Regular Honing: Use a honing rod or honing steel to realign the edge between sharpening’s. Honing helps maintain the sharpness of the blade by straightening any micro-irregularities that occur with use. Aim to hone your knife every few uses or as needed.
  6. Sharpen as Necessary: Eventually, even with proper maintenance, knives will require sharpening. Depending on usage, this can range from several months to a year. Invest in a quality sharpening stone or consider professional sharpening services to restore the blade’s sharpness.

Remember, practice and proper maintenance will help prolong the sharpness of your knife. Stay consistent with these tips, and you’ll enjoy the benefits of a sharp, efficient tool in your kitchen.

Feel free to share your own maintenance techniques or ask any questions you may have. Happy cooking! MBS

Categories
knife

Testing Knife Sharpness

A sharp knife is not only visually appealing but also essential for efficient and safe cutting.

Once you’ve sharpened your knife, it’s time to put it to the test and determine its sharpness. Here’s a simple test you can perform:

Step 1: Select a Test Object
Choose a test object that will allow you to assess the knife’s sharpness accurately. One commonly used item is a ripe tomato, as it requires a delicate touch to cut through cleanly.

Step 2: Position the Knife
Hold the knife securely with a firm grip, ensuring your fingers are away from the cutting edge. Safety is paramount during this test.

Step 3: Begin the Cut
Place the blade against the test object (in this case, the tomato) and apply gentle, controlled pressure while drawing the knife across the surface. Observe how smoothly and effortlessly the blade glides through the material.

Step 4: Assess the Results
Examine the cut. A sharp knife will produce a clean, precise slice without crushing or tearing the material. If the knife struggled to cut or caused jagged edges, it may require further sharpening.

Remember, always exercise caution when handling sharp objects and take appropriate safety measures during this test. Let’s keep our fingers safe while ensuring our knives are performing optimally!

Feel free to share your results and experiences with us. Happy testing! MBS

Categories
knife

Basic Sharpening Technique: Using a Whetstone

Let’s explore a basic sharpening technique using a whetstone:

  1. Soak the stone in water for the recommended time, usually 5-10 minutes.
  2. Place the stone on a stable surface, ensuring it won’t move during sharpening.
  3. Hold the knife at a 20-degree angle against the stone, using your fingers to maintain a consistent pressure.
  4. Starting at the base of the blade, move it across the stone in a sweeping motion, maintaining the angle.
  5. Repeat this process on the other side of the blade, alternating until the desired sharpness is achieved.

Remember to be patient and maintain a steady angle throughout the process. Practice will help you develop the right technique for sharpening different types of knives effectively.

Stay tuned for more advanced techniques and tips in our next posts! MBS

Categories
knife

Sharpening Techniques: Honing vs. Sharpening

It’s essential to understand the difference between honing and sharpening:

  1. Honing: Honing is the process of straightening the blade’s edge, also known as realigning. This is done using a honing rod or a honing steel. It doesn’t actually remove any metal but helps to maintain the sharpness of the blade between sharpenings.
  2. Sharpening: Sharpening is the process of removing metal from the blade to create a new, sharp edge. It involves using a sharpening stone or other sharpening systems to grind and shape the blade.

Both honing and sharpening play critical roles in keeping your knives in top condition. In the upcoming posts, we’ll dive deeper into the techniques involved. MBS

Categories
knife

Choosing the Right Sharpening Stone

Selecting the right sharpening stone is essential for achieving optimal results.

Here are a few popular options:

  1. Whetstones: Also known as water stones, these natural or synthetic stones require water as a lubricant and come in various grit levels for different stages of sharpening.
  2. Diamond Stones: Made with diamond-coated surfaces, these stones are highly durable and effective at removing metal quickly.
  3. Ceramic Stones: Ceramic stones are known for their hardness, making them excellent for maintaining an already sharp edge.

Remember, when choosing a sharpening stone, consider the level of maintenance your knife requires and the type of steel used in its construction. Happy Sharpening! MBS

Categories
knife

Introduction to Knife Sharpening: Understanding Knife Blade Anatomy

Welcome to our knife sharpening series!

A sharp knife is an essential tool in every kitchen, allowing for precise and effortless cutting. Over the next few posts, we’ll explore the art of knife sharpening, sharing tips, techniques, and recommendations to help you keep your blades in top condition.

Before diving into the sharpening process, let’s take a closer look at the anatomy of a knife blade. Understanding the different parts will help you better comprehend how to sharpen your knife effectively.

  • Point: The point refers to the very tip of the knife. It is typically sharp and is used for precision tasks such as piercing or scoring.
  • Spine: The spine is the top, thicker, and non-sharpened part of the blade. It provides stability and strength to the knife.
  • Edge: The edge is the cutting surface of the blade. It runs from the heel to the point and comes into contact with the material being cut. It is sharpened to create a sharp, effective cutting edge.
  • Heel: The heel is the rear part of the blade, located closest to the handle. It is generally the thickest and strongest section of the blade, suitable for tasks requiring more force, such as chopping.
  • Tang: The tang is the portion of the blade that extends into the handle. It adds balance and strength to the knife. Full tang knives have the tang extending the full length of the handle, while partial tang knives have a tang that extends partially into the handle.
  • Handle: The handle provides a grip for the user and is typically made of materials such as wood, plastic, or composite materials. It offers comfort, control, and stability while using the knife.
  • Bolster: The bolster is the thick junction between the blade and the handle. It adds weight, balance, and stability to the knife. Some knives have a full bolster that extends the entire width of the blade, while others have a half bolster that only covers part of the width.

Understanding these knife anatomy terms helps you communicate and choose the right knife for specific tasks. It also aids in proper handling, maintenance, and care of your knives.

Stay tuned for more knife-related tips and knowledge in our upcoming posts! MBS